- Always up-to-date: A dynamic pricing page element is automatically updated when changes are made in the Wingback application, ensuring that your pricing page is always accurate and up-to-date.
- Eliminates manual updates: With a dynamic pricing page, you don’t have to worry about manually updating your pricing page every time a new feature is added, or a plan is changed.
- Flexible: Sales and marketing teams can set up landing pages with pricing elements containing special offers and experiments without involving developers.
- Easy to implement: Wingback.js provides an easy way to implement a dynamic pricing page elements on your website.
Embedding a Dynamic Pricing Page Element
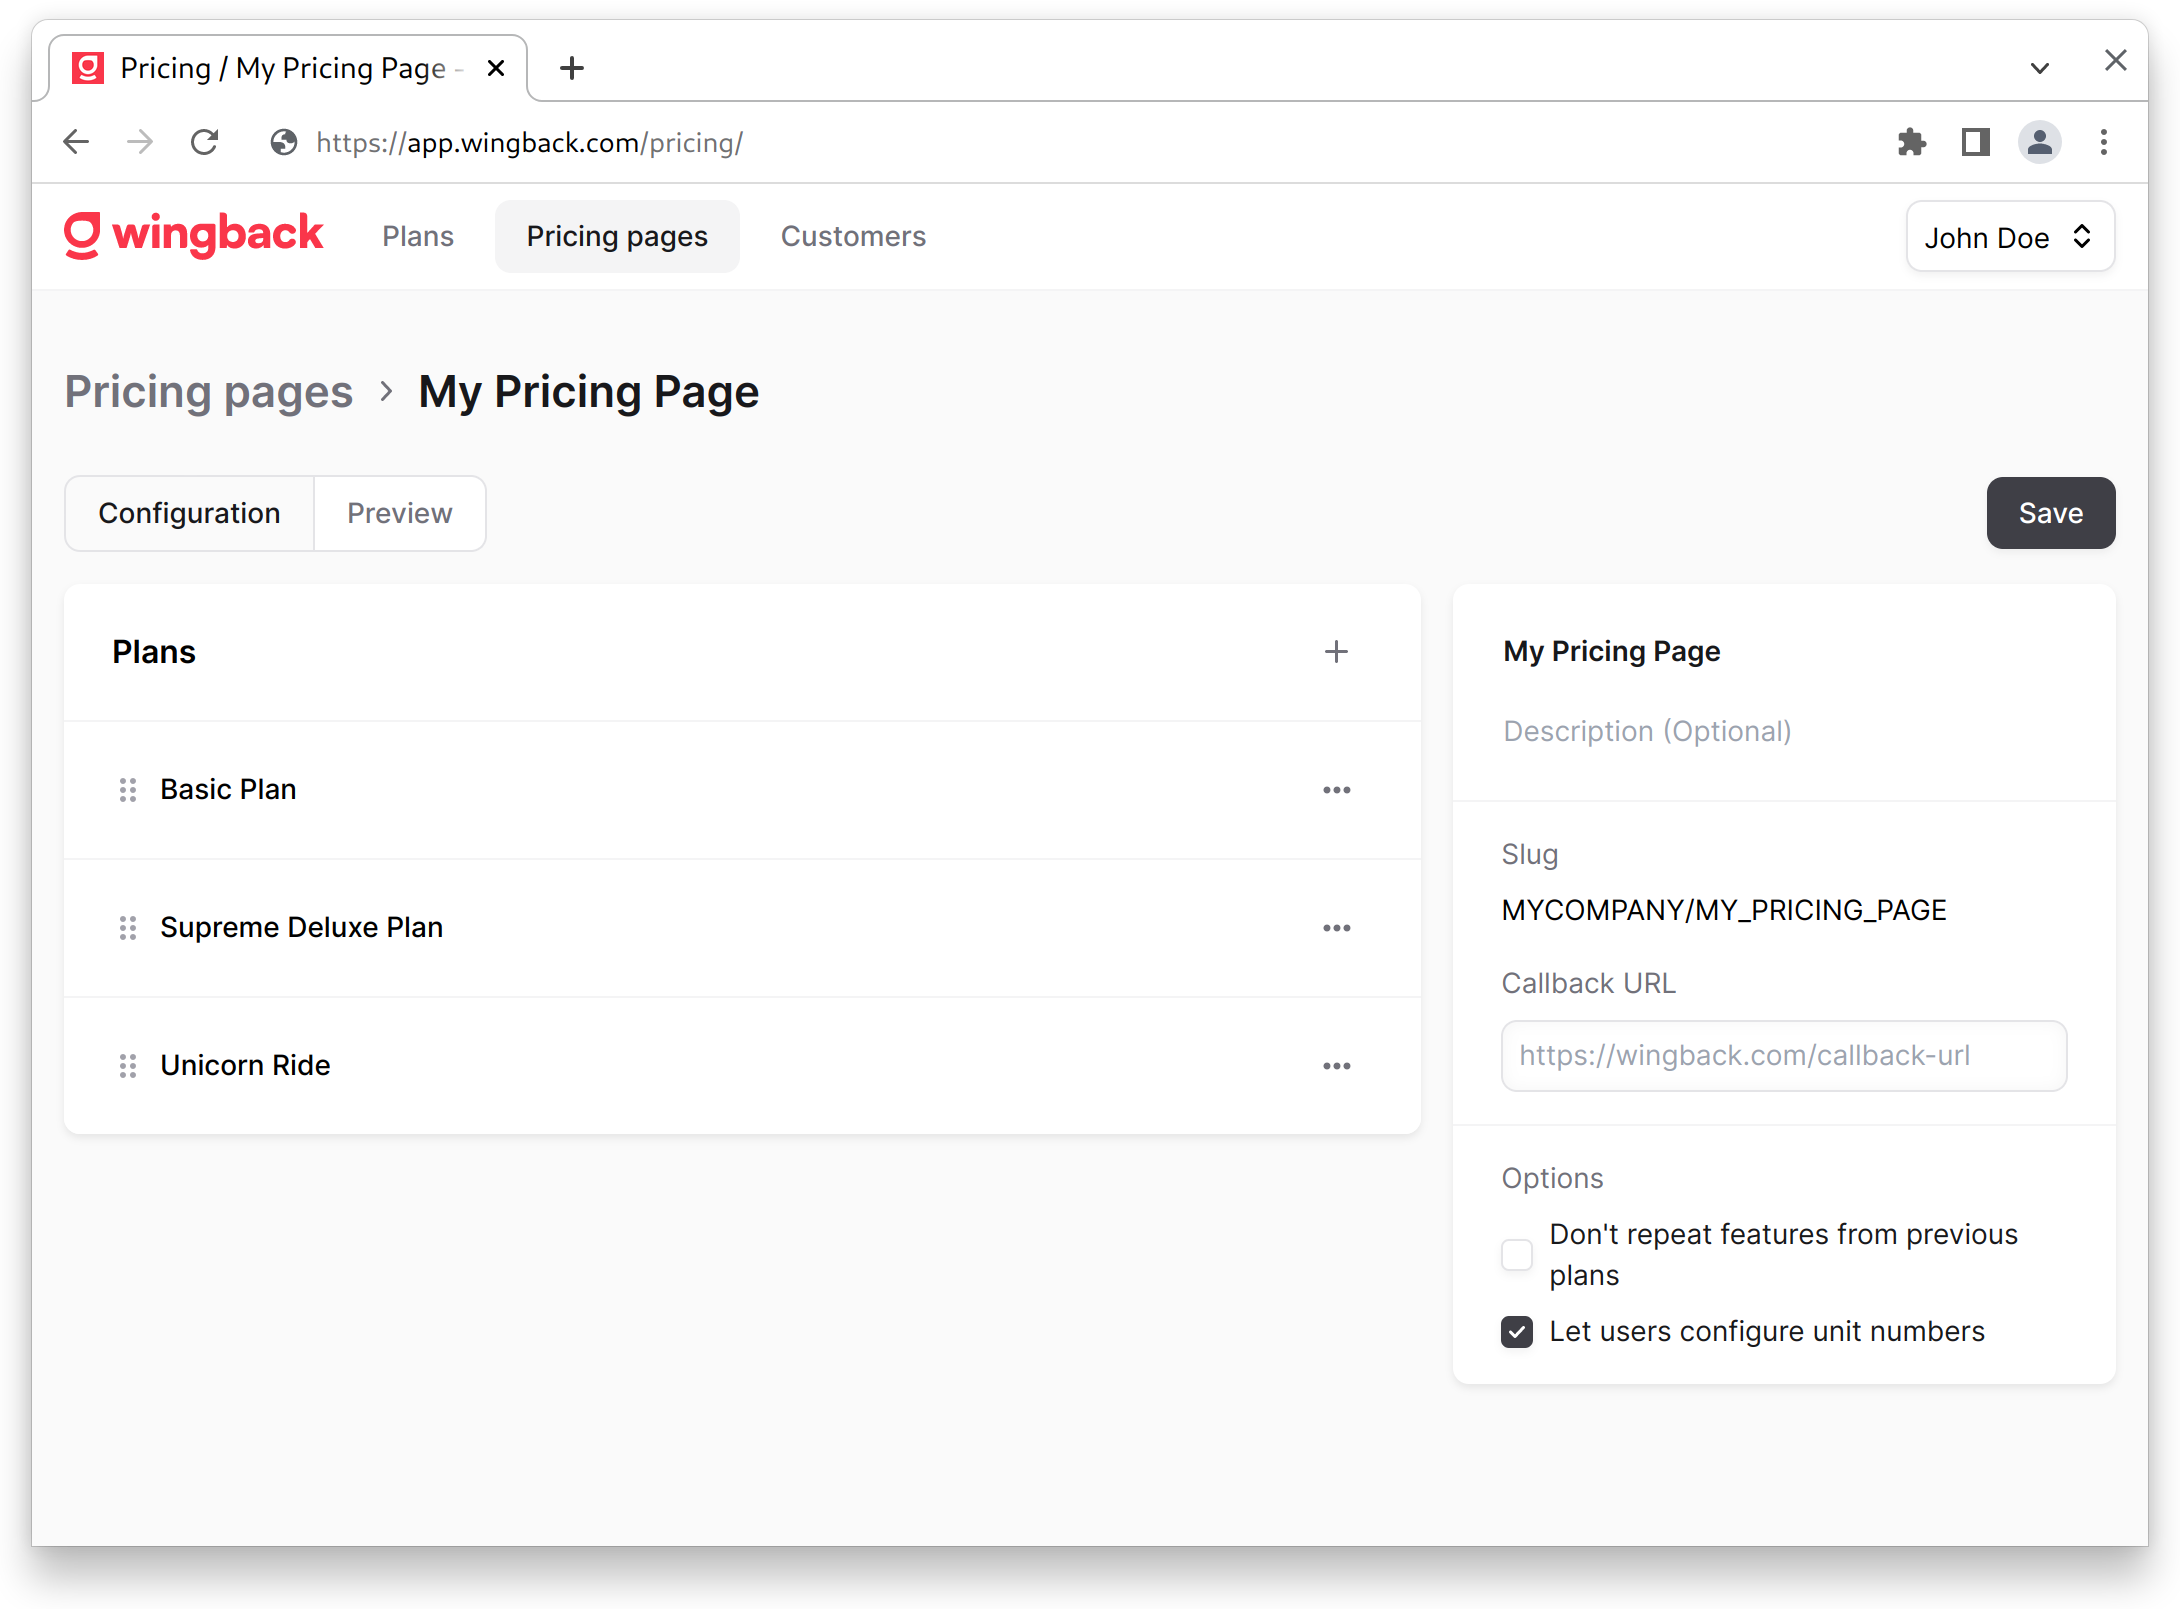
To add a dynamic pricing page element to your website, you’ll need to follow these steps:1. Create a pricing table in Wingback
First, you’ll need to create a pricing table in the Wingback application. You can do this by going to the Pricing Page section and creating a new pricing page.Please note down the slug of the newly generated pricing page.
2. Add the Wingback.js script:
Add the Wingback.js script to your page.index.html
3. Create a container for the pricing page element
Next, you’ll need to create an HTML element on your website where the pricing table will be rendered.index.html
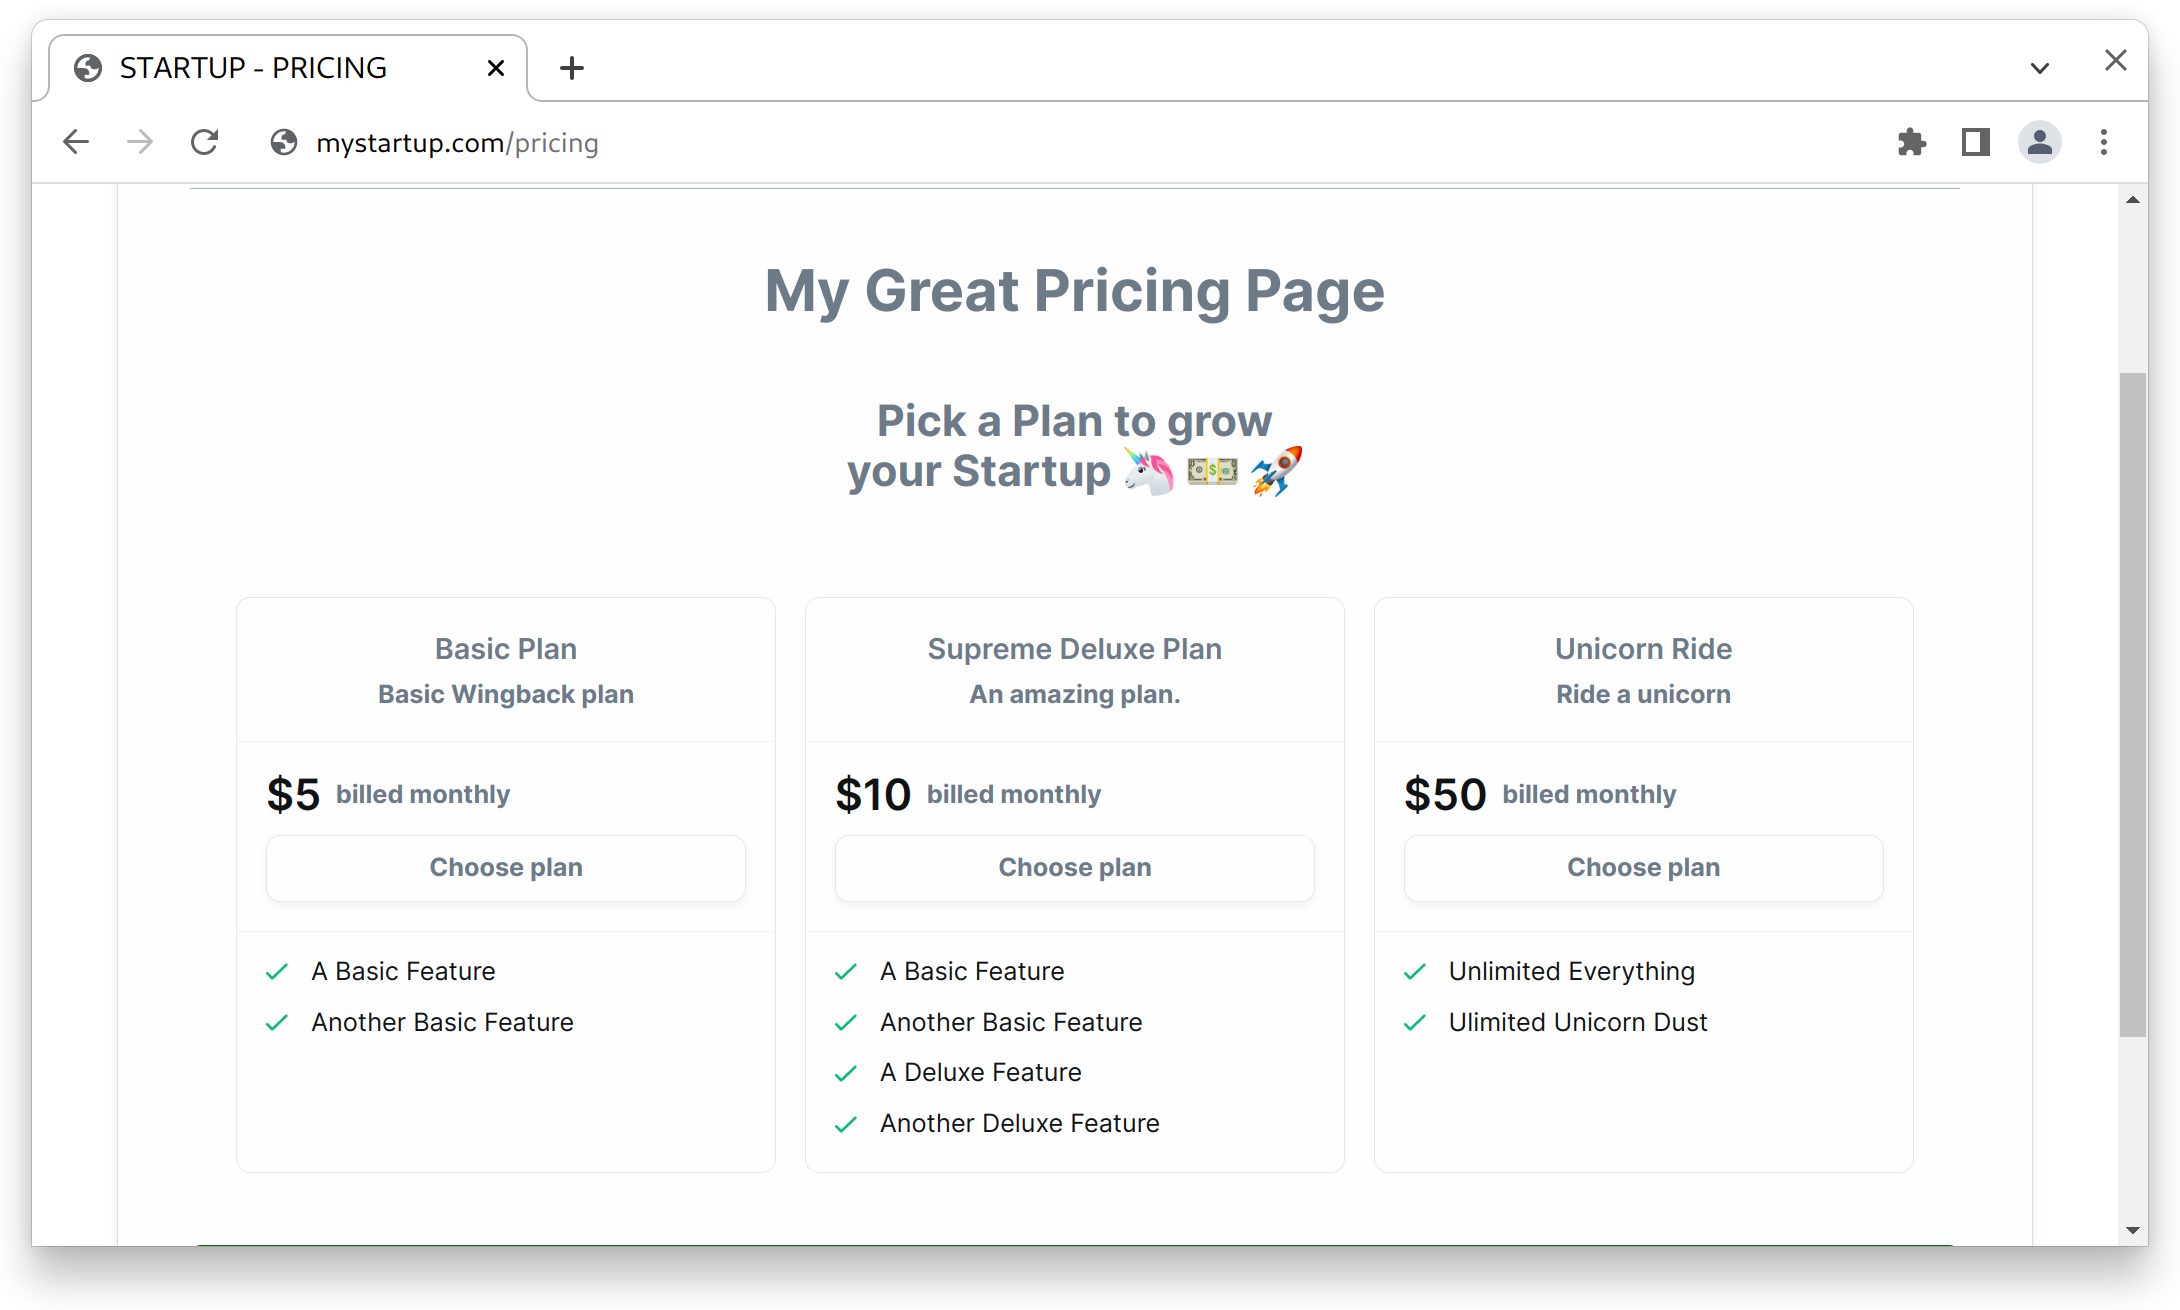
4. Render the pricing page element
Finally, you can use theWingback.pricing.render() method to render the pricing page element. This method takes two parameters: the id of the container where the pricing table will be rendered, and the slug of the pricing table you created in the Wingback application earlier.
script.js
To see how to customize the appearance of the generated pricing page and other advanced options head over to the Pricing Pages documentation.