> ## Documentation Index
> Fetch the complete documentation index at: https://docs-int.wingback.com/llms.txt
> Use this file to discover all available pages before exploring further.
# Adding a Dynamic Pricing Page to Your Website
export const IntRedir = () => {
if (typeof document === "undefined") {
return null;
} else {
setTimeout(() => {
const currentUrl = new URL(window.location.href);
if (currentUrl.hostname === 'docs-int.wingback.com') {
currentUrl.hostname = 'docs.wingback.com';
window.location.replace(currentUrl.toString());
}
}, 1);
return <>;
}
};
Wingback.js allows you to easily add a dynamic pricing page element to your website. This means that your pricing page will always be up-to-date, without the need for manual updates. Additionally, you don't have to worry about designing and maintaining your own pricing page elements, as Wingback takes care of that for you.
* **Always up-to-date:** A dynamic pricing page element is automatically updated when changes are made in the Wingback application, ensuring that your pricing page is always accurate and up-to-date.
* **Eliminates manual updates:** With a dynamic pricing page, you don't have to worry about manually updating your pricing page every time a new feature is added, or a plan is changed.
* **Flexible:** Sales and marketing teams can set up landing pages with pricing elements containing special offers and experiments without involving developers.
* **Easy to implement:** Wingback.js provides an easy way to implement a dynamic pricing page elements on your website.
## Embedding a Dynamic Pricing Page Element
To add a dynamic pricing page element to your website, you'll need to follow these steps:
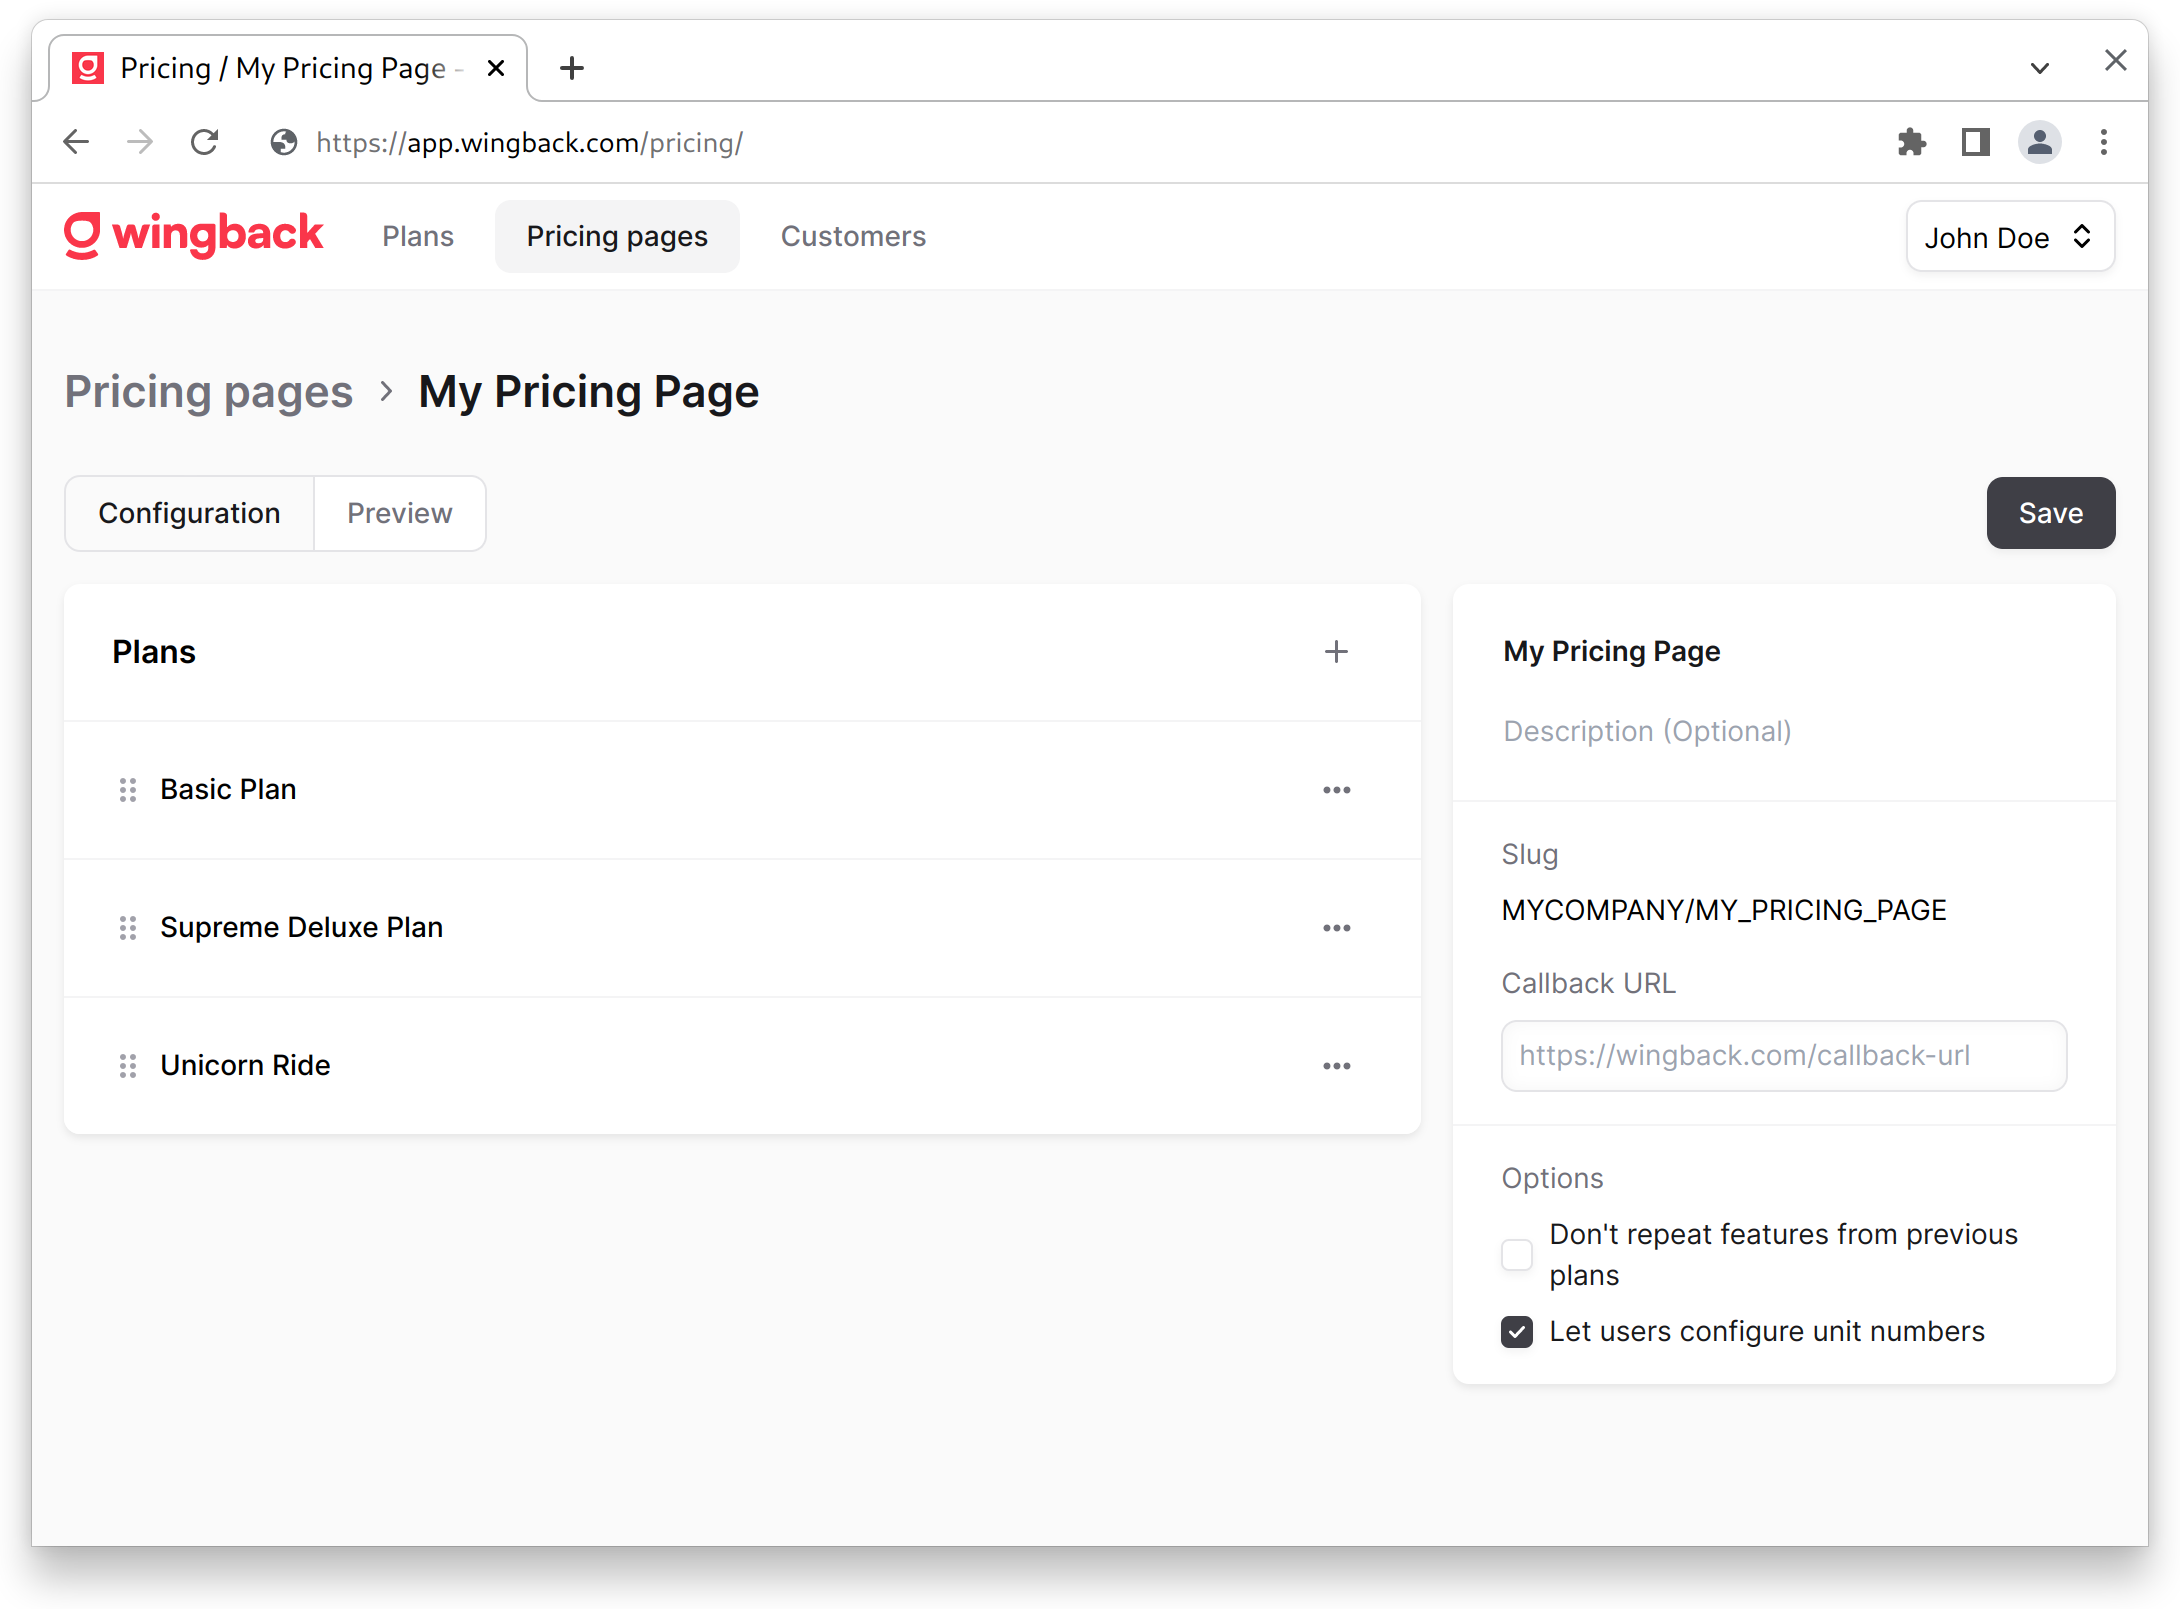
### 1. Create a pricing table in Wingback
First, you'll need to create a pricing table in the [Wingback application](https://app.wingback.com). You can do this by going to the Pricing Page section and creating a new pricing page.
Please note down the slug of the newly generated pricing page.
 ### 2. Add the Wingback.js script:
Add the Wingback.js script to your page.
```HTML index.html theme={null}
```
### 3. Create a container for the pricing page element
Next, you'll need to create an HTML element on your website where the pricing table will be rendered.
```HTML index.html theme={null}
```
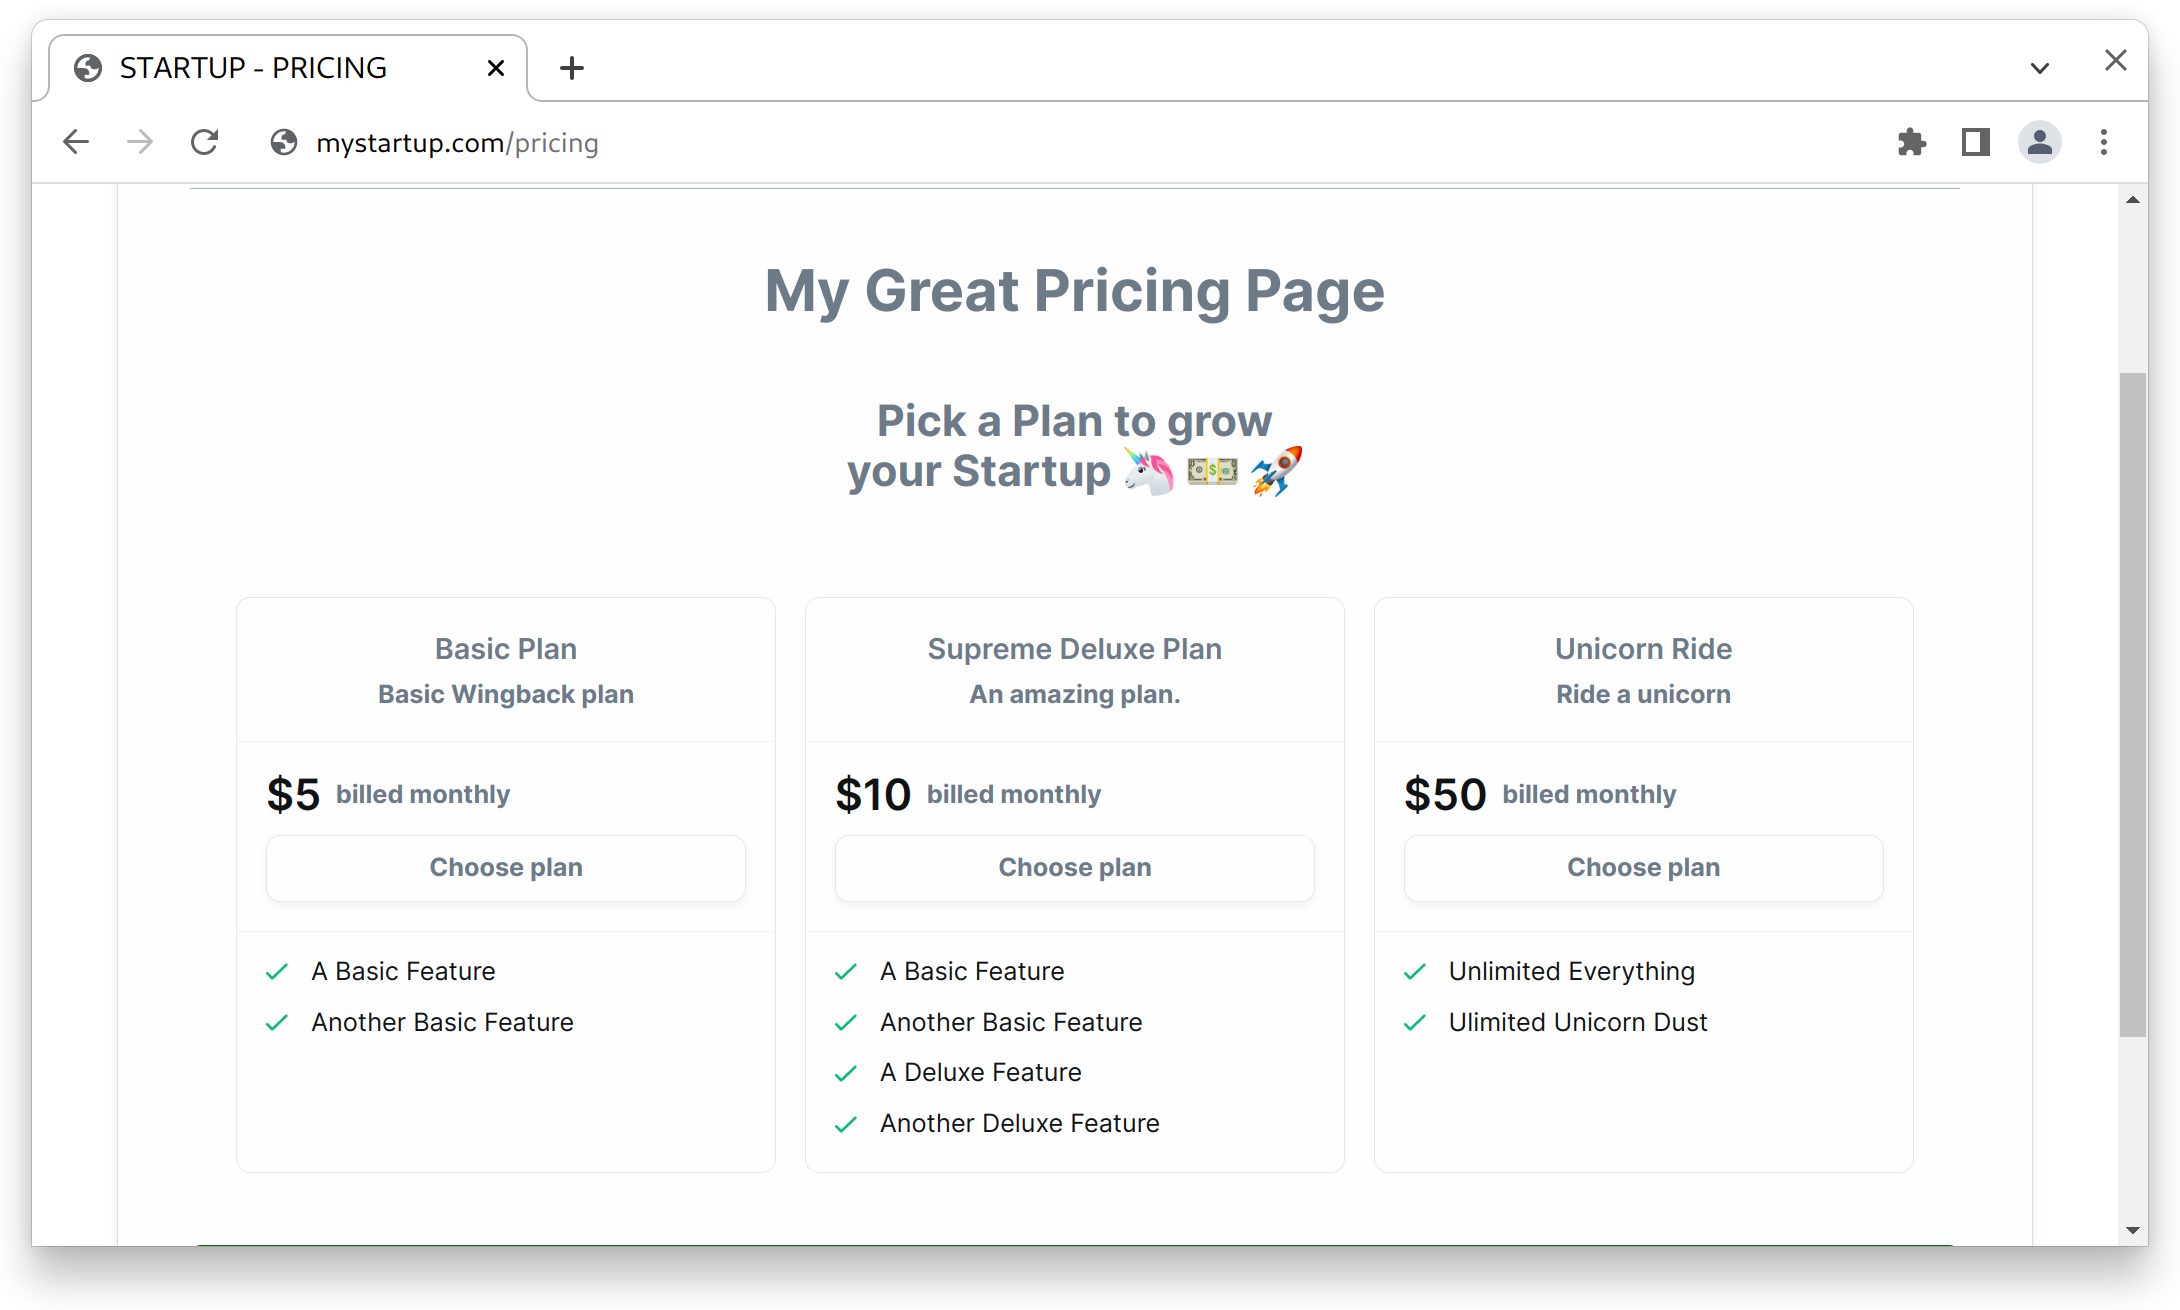
### 4. Render the pricing page element
Finally, you can use the `Wingback.pricing.render()` method to render the pricing page element. This method takes two parameters: the id of the container where the pricing table will be rendered, and the slug of the pricing table you created in the Wingback application earlier.
```js script.js theme={null}
const render = async () => {
const containerId = "#pricingtable";
const slug = "COMPANY/TABLENAME";
try {
await Wingback.pricing.render(containerId, slug);
} catch (error) {
console.error("Error rendering pricing table: ", error);
}
};
render();
```
### 2. Add the Wingback.js script:
Add the Wingback.js script to your page.
```HTML index.html theme={null}
```
### 3. Create a container for the pricing page element
Next, you'll need to create an HTML element on your website where the pricing table will be rendered.
```HTML index.html theme={null}
```
### 4. Render the pricing page element
Finally, you can use the `Wingback.pricing.render()` method to render the pricing page element. This method takes two parameters: the id of the container where the pricing table will be rendered, and the slug of the pricing table you created in the Wingback application earlier.
```js script.js theme={null}
const render = async () => {
const containerId = "#pricingtable";
const slug = "COMPANY/TABLENAME";
try {
await Wingback.pricing.render(containerId, slug);
} catch (error) {
console.error("Error rendering pricing table: ", error);
}
};
render();
```
 To see how to customize the appearance of the generated pricing page and other advanced options head over to the [Pricing Pages](/dev/wingback-js/pricing) documentation.